Salads are like an empty canvas and the chef is the artist. There are an umpteen number of combinations with grains, vegetables, greens and legumes that can be used to compose not just a tasty salad, but one with a solid boost of nutrition. Salad’s don’t always have to be the conventional lettuce, carrots, tomatoes and dressing, they can be much more than that.

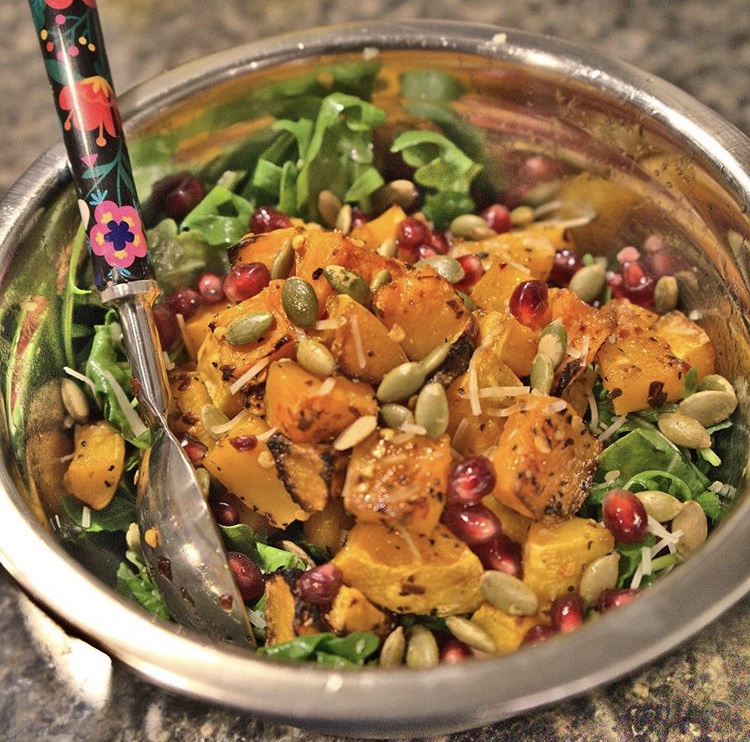
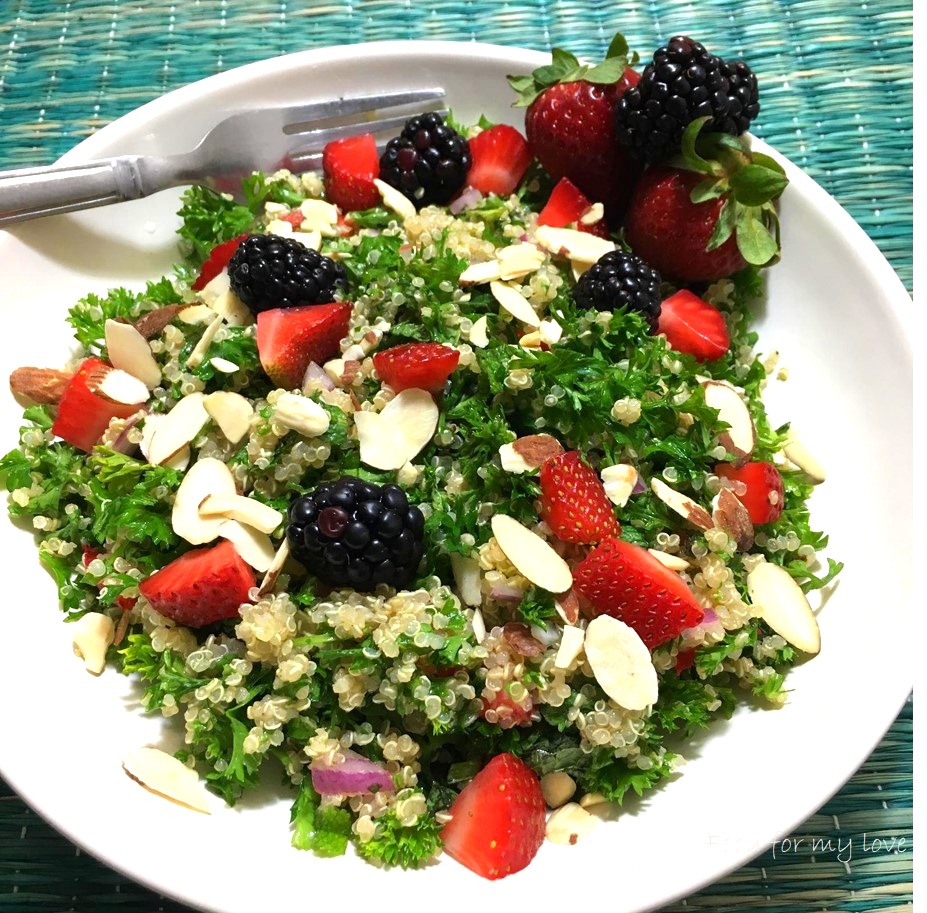
This salad illustrates exactly that by combining grains and legumes with some vegetables and a simple dressing. The combination of spices used in the preparation of the salad and the dressing has brought out a zesty, sweet and spicy Moroccan flavor profile. Because of the dense elements of this salad, it not only makes a great lunch-box salad (to keep you satiated but not make you drowsy), but it also makes for an entree sized dinner salad for a quick weeknight meal (with pre-prepared ingredients, of course).
Another very important aspect of this salad is its nutrient composition. For vegetarians, this salad has everything in it starting from multiple sources of plant-based protein, fiber, iron and folate. Which brings me back to my point that salads can be so nutritious with the use of dense nutritious elements. All in all, this salad offers nutrition, color, texture and flavor. Try it now!
| Prep time | 10 minutes |
| Cook time | 60 minutes |
| Serves | 2-3 |
Ingredients
Grains
- Quinoa – 1 cup, uncooked (Any color of Quinoa is fine)
Legumes
- Chickpeas – 2 cups, cooked
Vegetables
- Bell Peppers – 2, chopped (This recipe uses 1 red and 1 yellow)
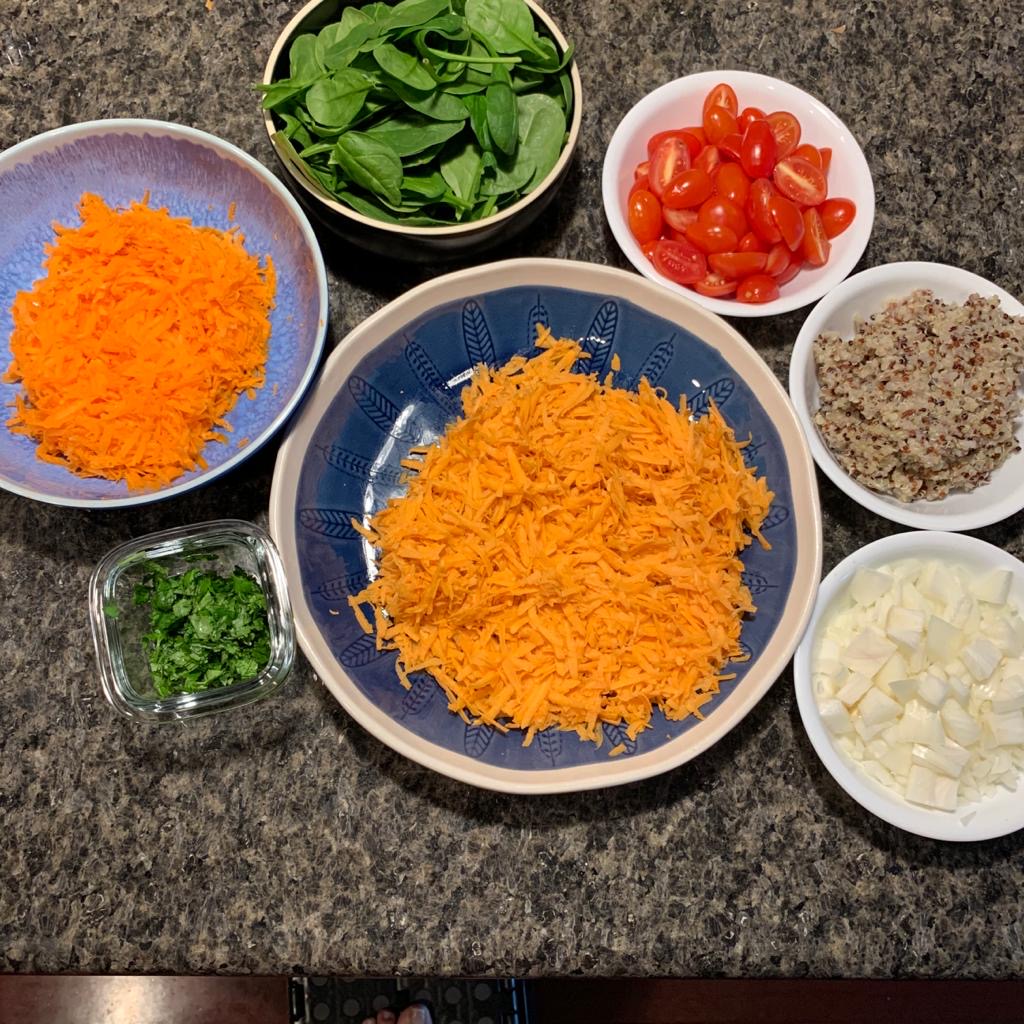
- Cherry Tomatoes – 10-12 pieces, sliced in half
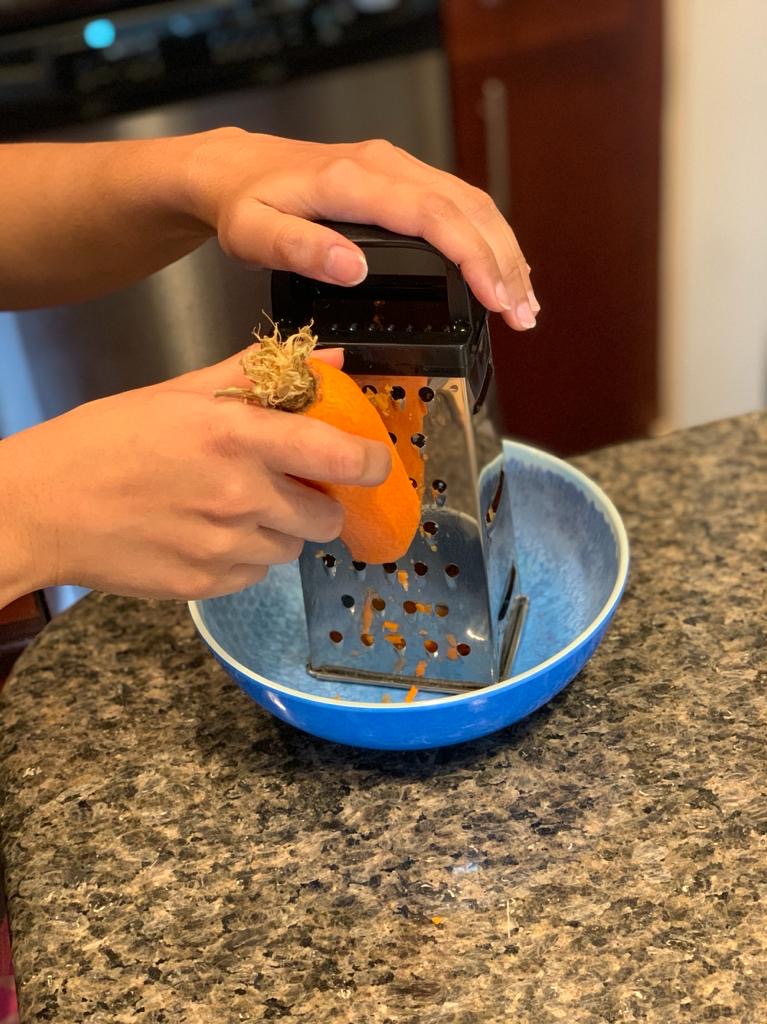
- Carrots – 1/2 cup, shredded
Nuts and Fruits
- Golden Raisins – A handful (Optional)
- Pistachios – A handful, slivered (Optional)
Spices, Flavors and Herbs
- Cumin Powder – 1/2 tsp
- Cinnamon Powder – 1/2 tsp
- Red Chilli Powder – 1/2 tsp
- Salt – As per taste
- Garlic Powder – 1/4 tsp
- Black Pepper Powder – 2 tsp
- Cilantro – A handful
- Lemon Juice – 1/4 cup
Oils
- Olive Oil – 1/4 cup + 2 tbsps
Ingredient notes
- Use Paprika for a less intense spice
- Mint can be used in place of Cilantro
- Although this recipe does not use it, a handful of greens such as Spinach or Arugula would be great
Method
- Pre-heat oven to 400F (Approx. 200C).
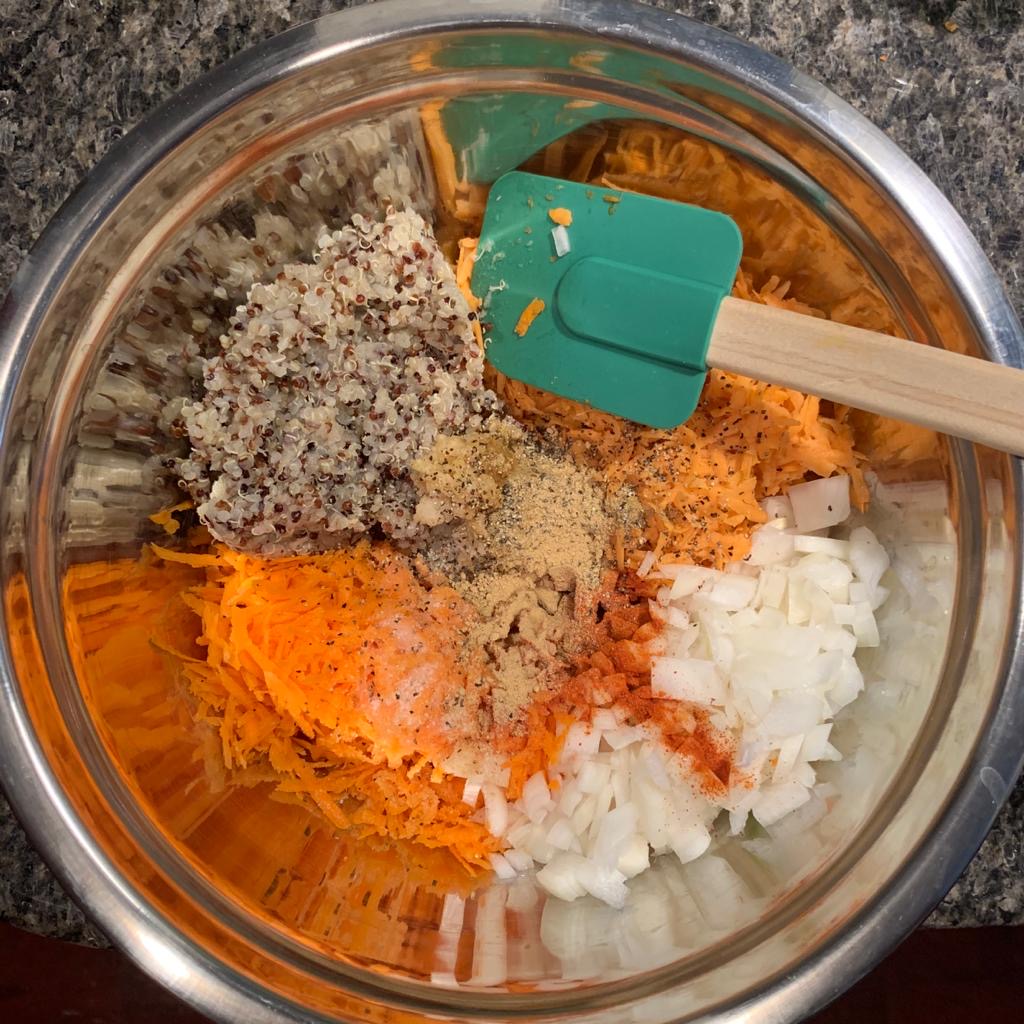
- To a mixing bowl, add chickpeas, 2 tbsps of olive oil, ground cumin, ground cinnamon, red chilli powder, garlic powder and salt. Mix well until all the chickpeas are well coated with the spices
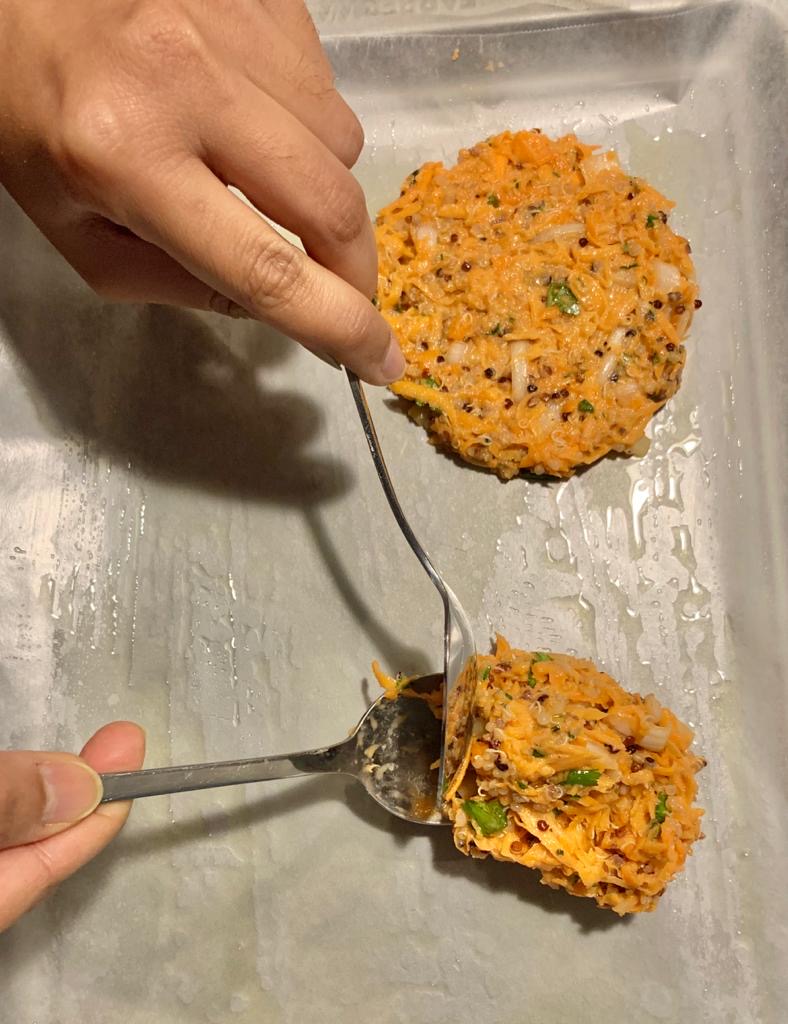
- Line a baking tray with aluminium foil or parchment paper and spread the chickpeas on the tray. Keep them in a single layer so that they roast evenly
- Once pre-heating of the oven is complete, place the tray in the oven and roast the chickpeas for 40-45 minutes until they are crunchy
- In the meanwhile, to a pot, add the quinoa and 1 cup water and cook until the quinoa is fluffy
- To prepare the zest dressing, to a bowl, add olive oil, lemon juice, black pepper and a pinch of salt. Whisk the dressing together and place to the side
- In a serving bowl, add quinoa, chickpeas and chopped vegetables. Add the dressing and toss everything together
- Garnish with crunchy slivered almonds, a handful of golden raisins and chopped cilantro
- Enjoy the salad warm or after it has cooled down
Cooking notes
- If an oven is not available, the chickpeas can be roasted on a pan as well. Option 1 is to add oil to a pan, heat it up and add the spice coated chickpeas. Option 2 is to heat up the oil, add the chickpeas and then incorporate the spices. Either way, make sure to keep stirring the chickpeas until they are roasted and crunchy
- Any leftover roasted chickpeas can be put in an airtight container to eat as a super healthy snack
You can also follow me on Instagram to be up-to-date with what is cooking my kitchen. If you like this recipe, do rate it and share your comments below. Don’t forget to post your version on Instagram using #foodformyloveblog.